October 19
How to Smoke Brisket on a Meadow Creek BX25 Smoker
0 comments
Do you dream of smoking huge servings of perfectly cooked brisket with an excellent balance of smoke, bark, and tenderness?
Have you tried your hand at brisket and been disappointed with the results?
I feel like brisket has become a rite of passage to many—if you can cook a good brisket, you're the real deal; if you can't, you're not much of a pitmaster.
I see lots of questions from people getting ready to cook their first brisket. Some people make it sound brain-dead simple, but I've cooked enough briskets to know that there is a lot that can go wrong with a brisket and suck all the joy out of your brisket.
In this post, I will share some of the lessons I've learned about smoking brisket and show you how I like to smoke brisket on a Meadow Creek cabinet smoker.

“I would recommend the Meadow Creek BX25 to anyone. Built to last for many years. Works great even when temperatures dip well below freezing.”
- Jerry, online review -
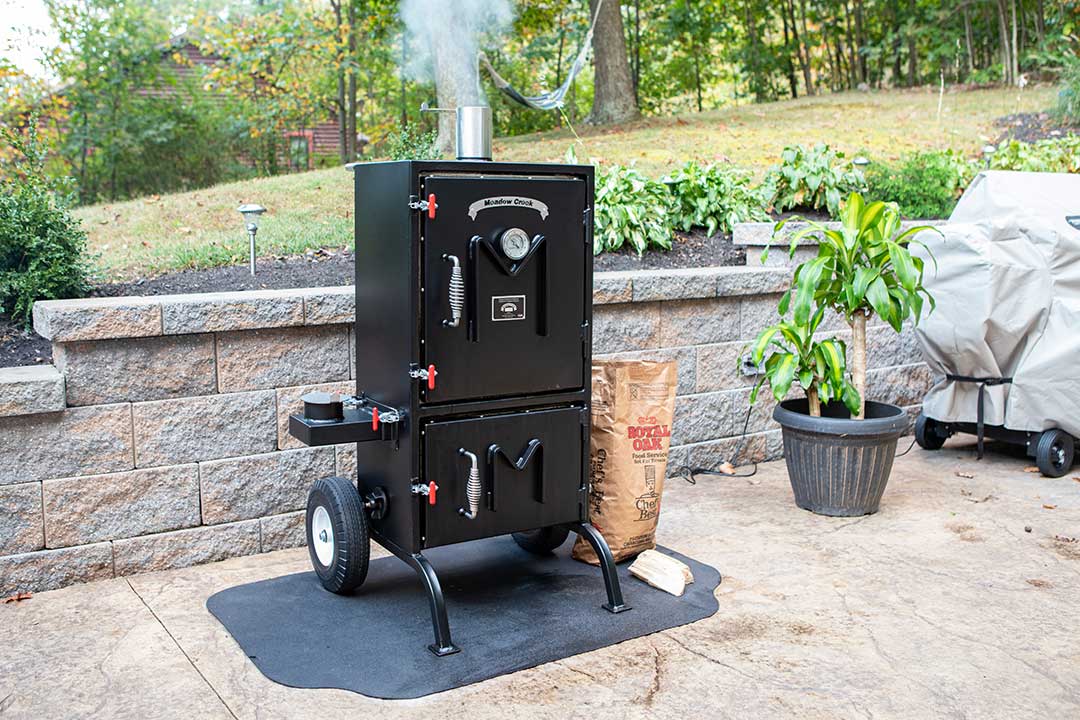
Hint: If you’re looking for a backyard or competition smoker that is compact, fuel efficient, and runs on charcoal/wood, the BX series is an excellent choice.
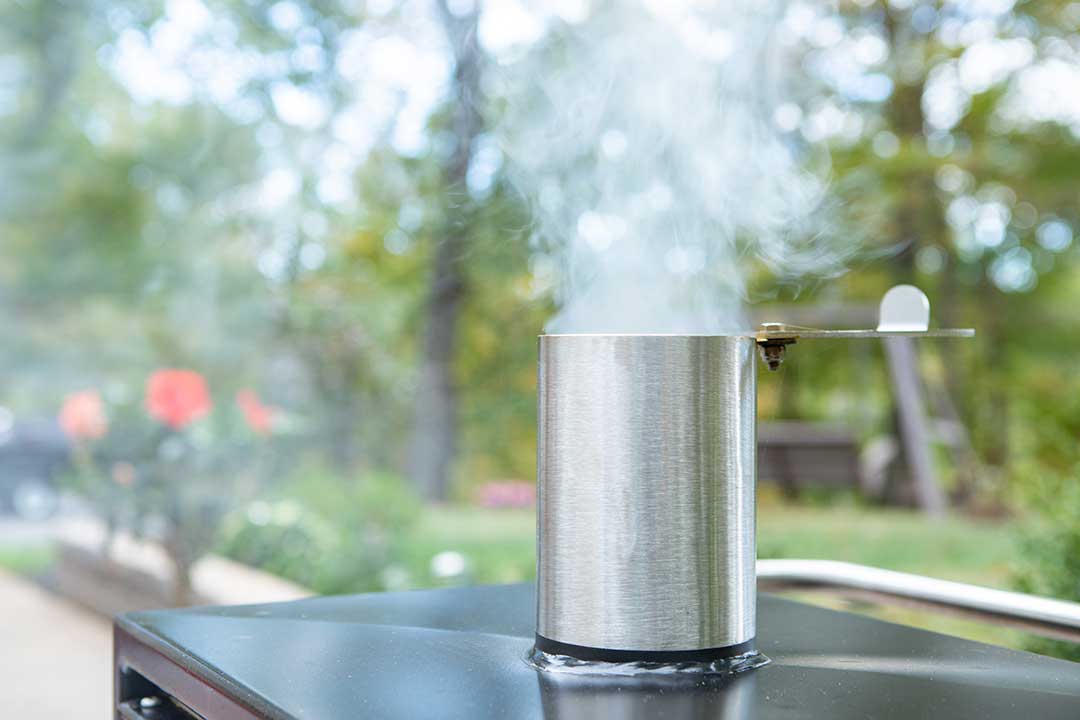
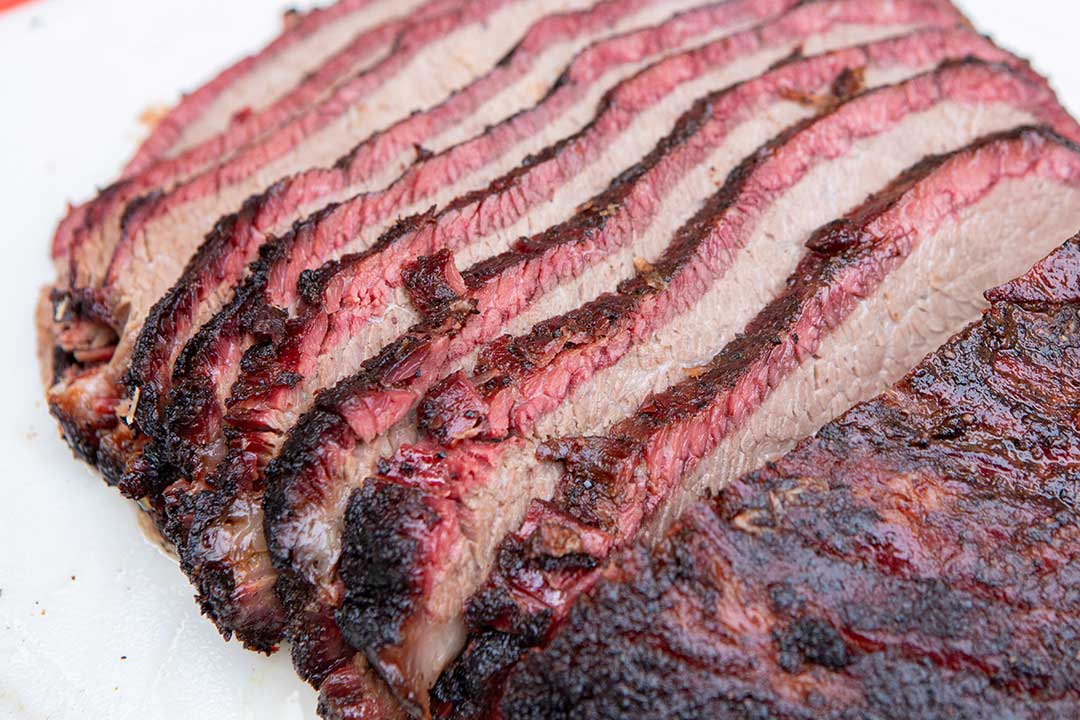
I recommend buying the best brisket you can afford. If at all possible, go with a prime grade. The flat portion of a brisket is lean enough that you need all the help you can get from marbling to turn out a great brisket.
If you simply can't find prime, a choice grade will work too. Here in Pennsylvania, I can get whole prime grade briskets at Sam's Club. If you can't find any at Sam's Club or Costco, ask around at some local butcher shops and meat markets.
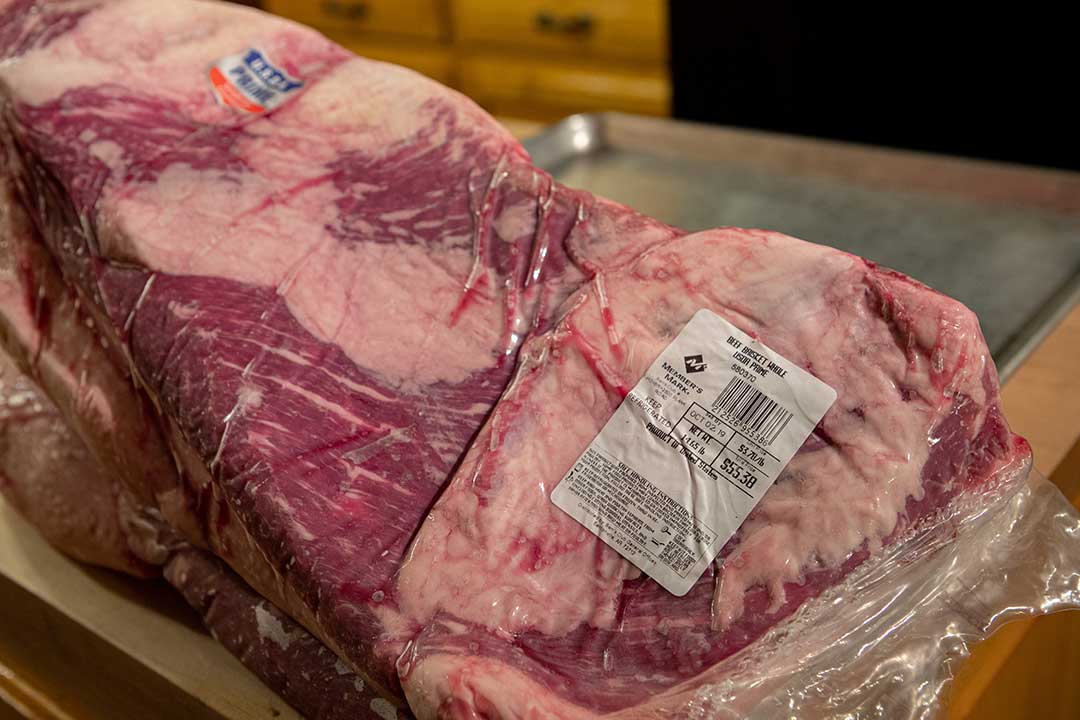
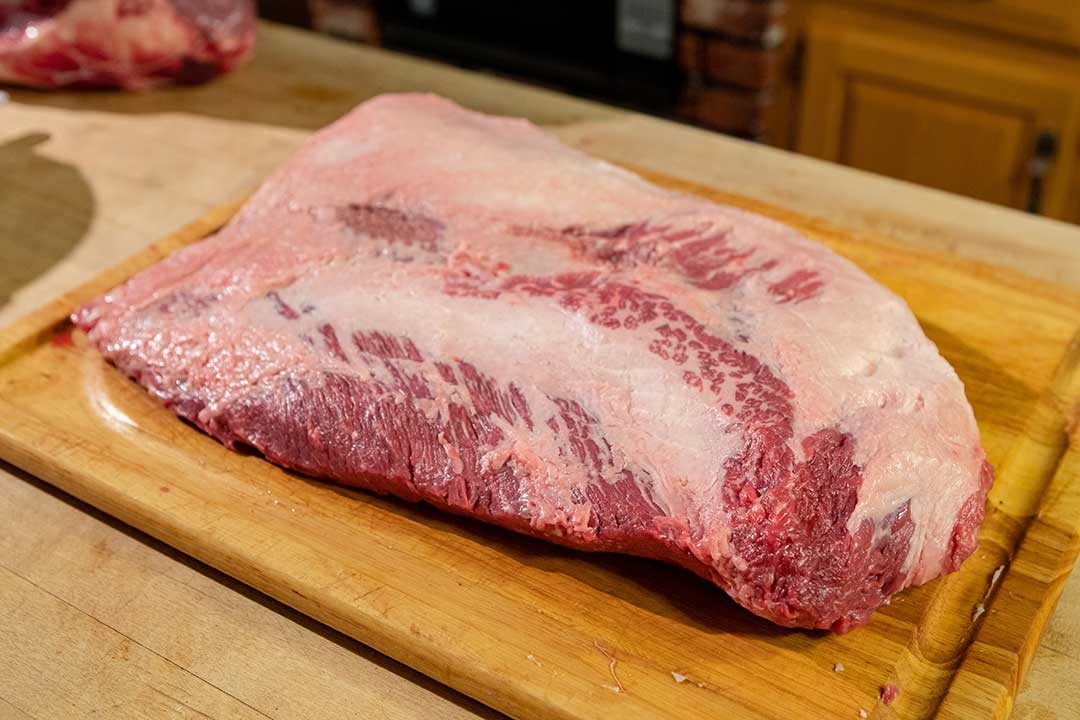
Remove the plastic wrapping and trim away the hard fats on the surface and take the fat cap down to about 1/4" thick. I also like to square up the sides and get rid of the "gray" edges.
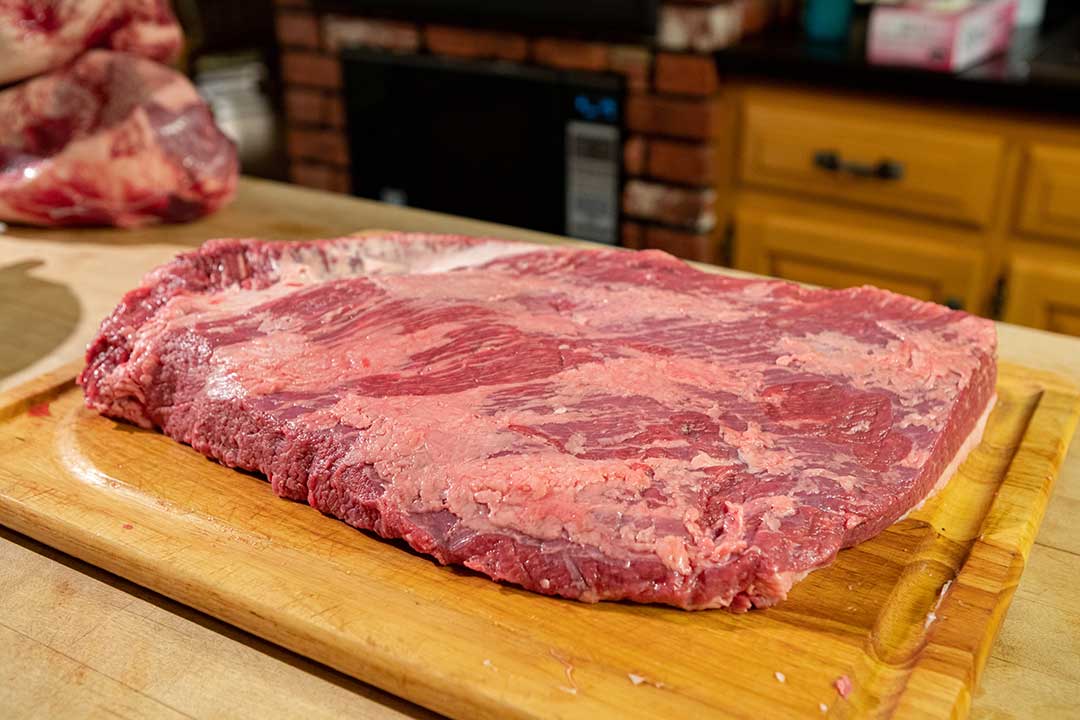
Here is one of my briskets ready to season. The photo below shows the fat side up.
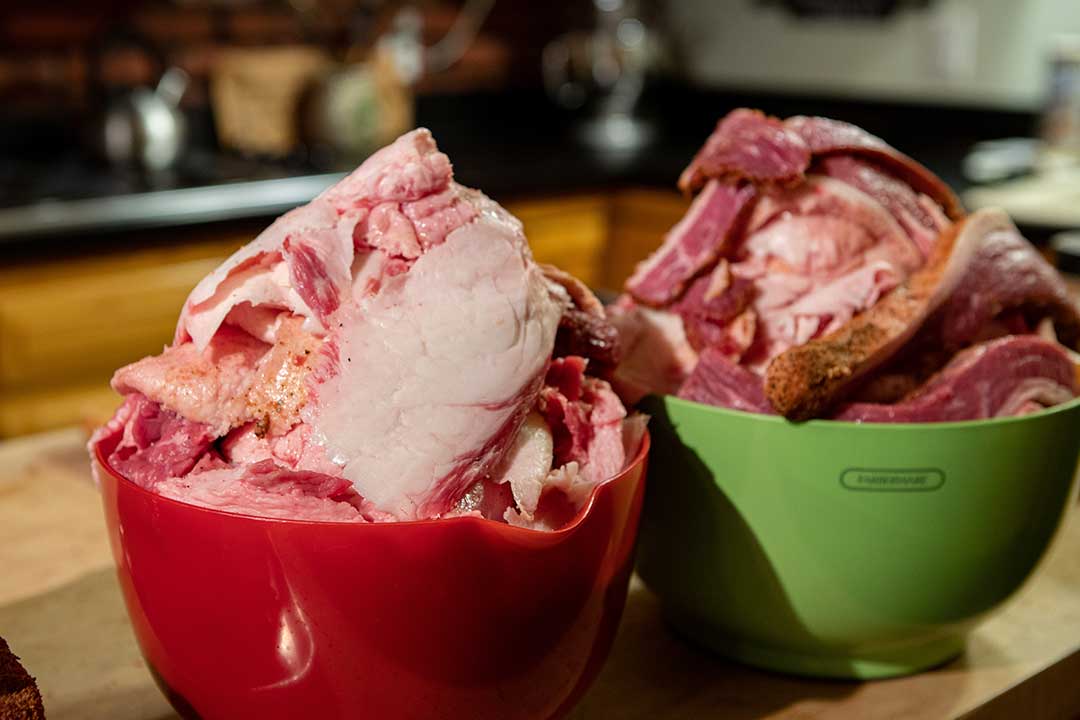
Here are the trimmings from 3 whole briskets.
If you want to watch a pro trim a brisket, here's Aaron Franklin demonstrating how to trim a brisket:
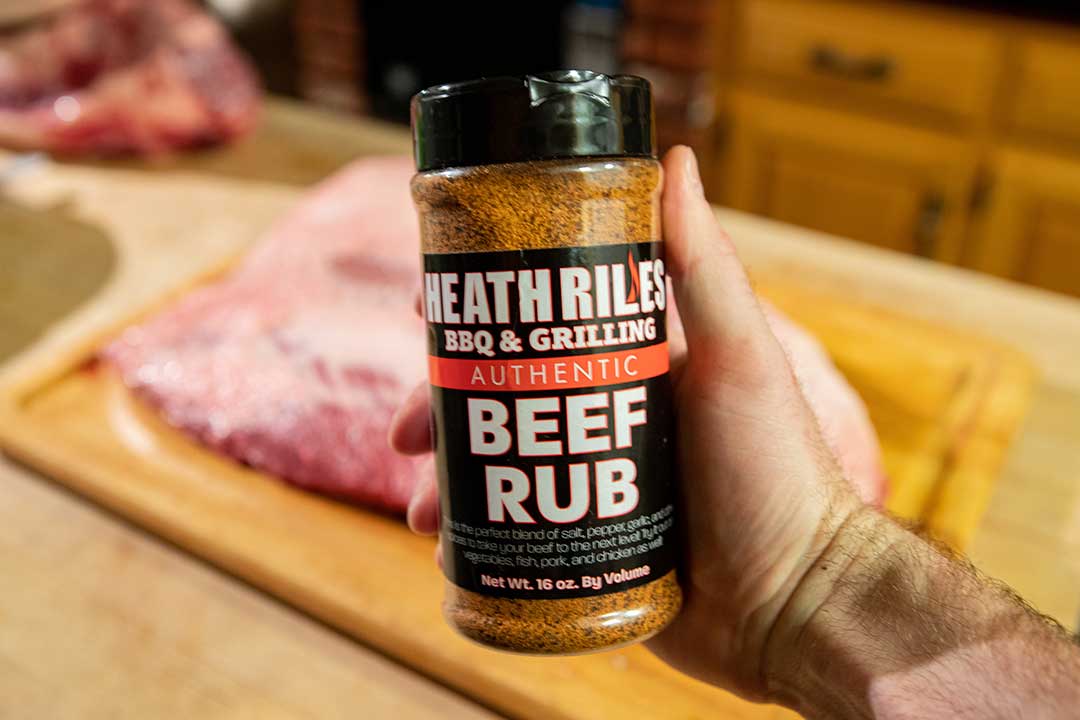
I seasoned the briskets with Heath Riles Beef Rub the night before cooking them and set them back in the fridge until morning.
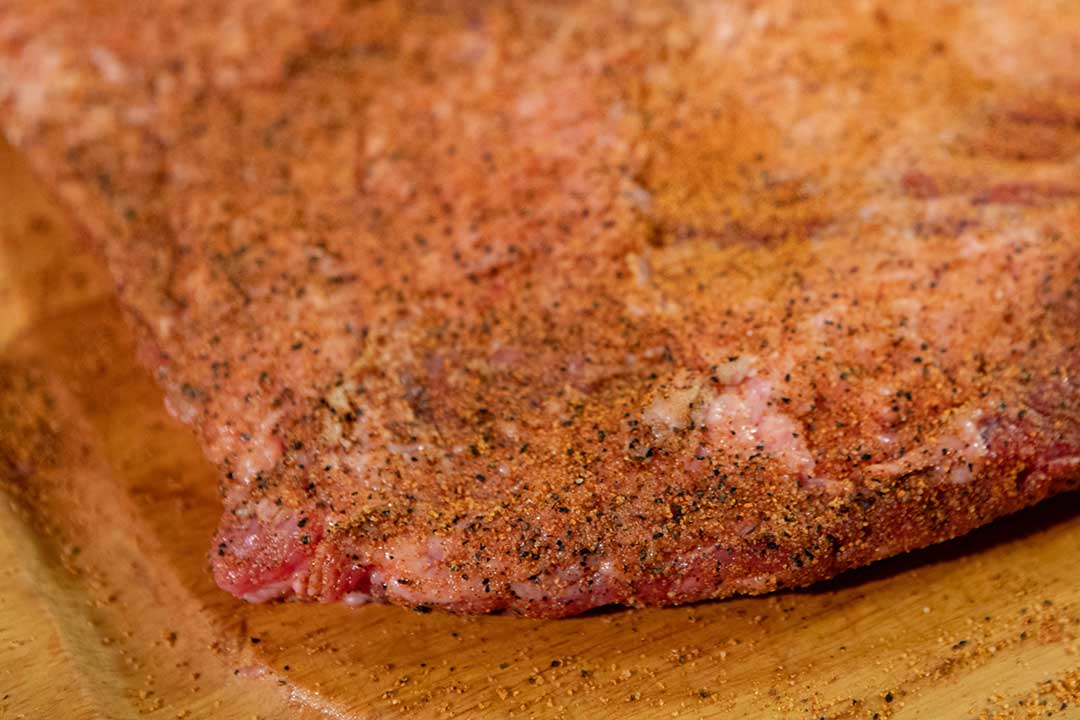
Seasoned and ready to cook
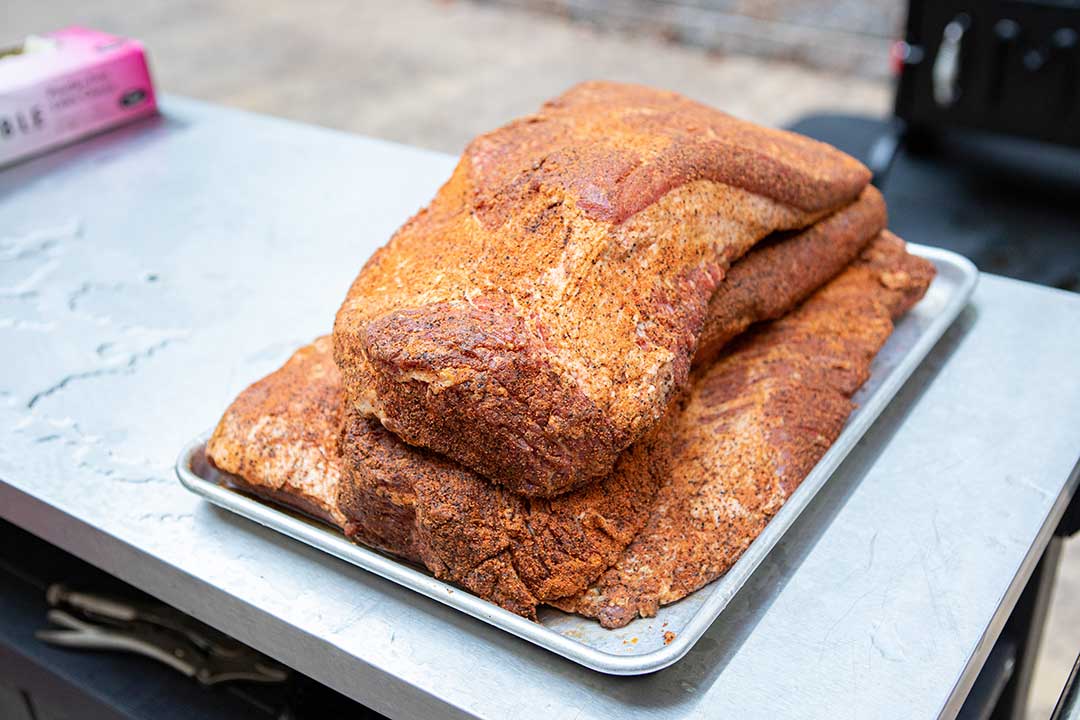
For this cook I'm using my BX25 Box Smoker. I am cooking without the water bottle as an experiment.
While there are advantages to cooking with steam in the smoker, I have found that the water pulls down the temperature in the smoker. It seems logical that it takes less fuel running it without water, and it's also easier to get the temperature up over 250 or even 300 degrees F. On the negative side, I have actually burnt several briskets on this smoker running without water (further explanation below).
Having said that, I still haven't decided if I like one way over the other. It really works just fine either way once you understand how to work it.
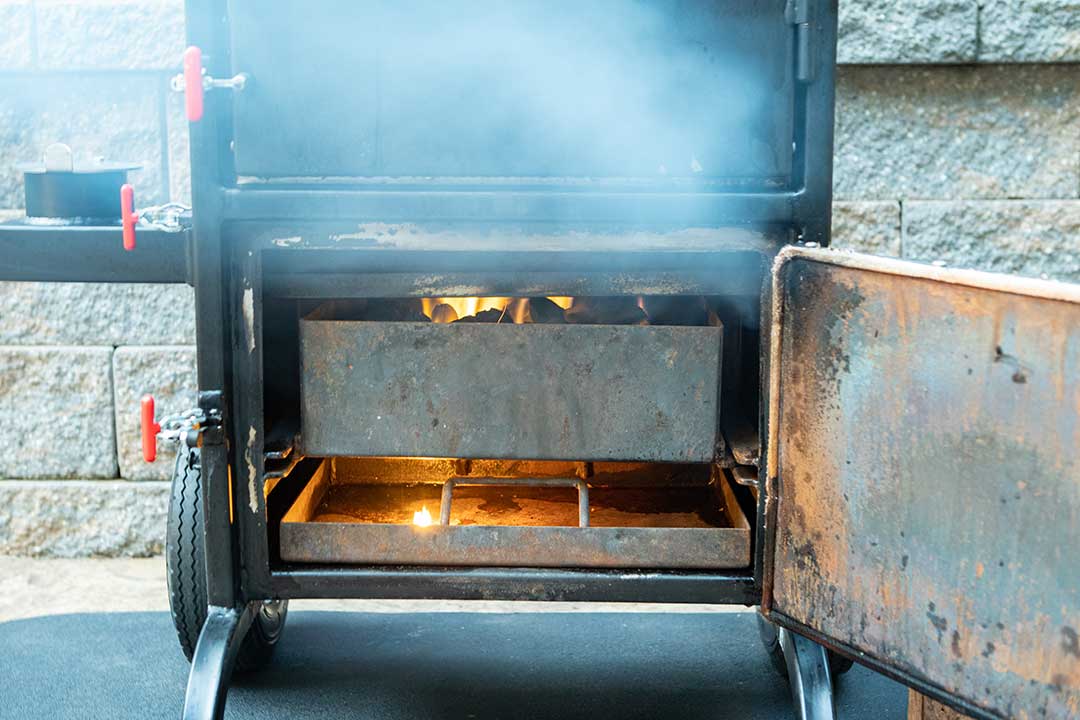
For fuel, I'm using Chef's Best charcoal briquettes and a couple of splits of hardwood from trees we cut down on my property. I used a torch to light the charcoal but possibly the easiest way to do it is with a couple of wax fire starters or by lighting some charcoal in a chimney and dumping the lit coals in the firebox and then topping the firebox off with unlit charcoal.
For this cook, we're aiming to keep the smoker between 225 and 250 degrees.
I have burned several briskets on the bottom shelf of the BX25, partly because I overlooked the fact that the meat was blocking too much of the heat. If you couple that with a higher temperature, such as 275 degrees, the likelihood of charring the bottom side of the bottom brisket to a crisp is extremely high.
I have found that if I keep the temperature in the smoker down at 225 degrees and use a 12-pound brisket (or trim the length down as shown below), it works pretty well.
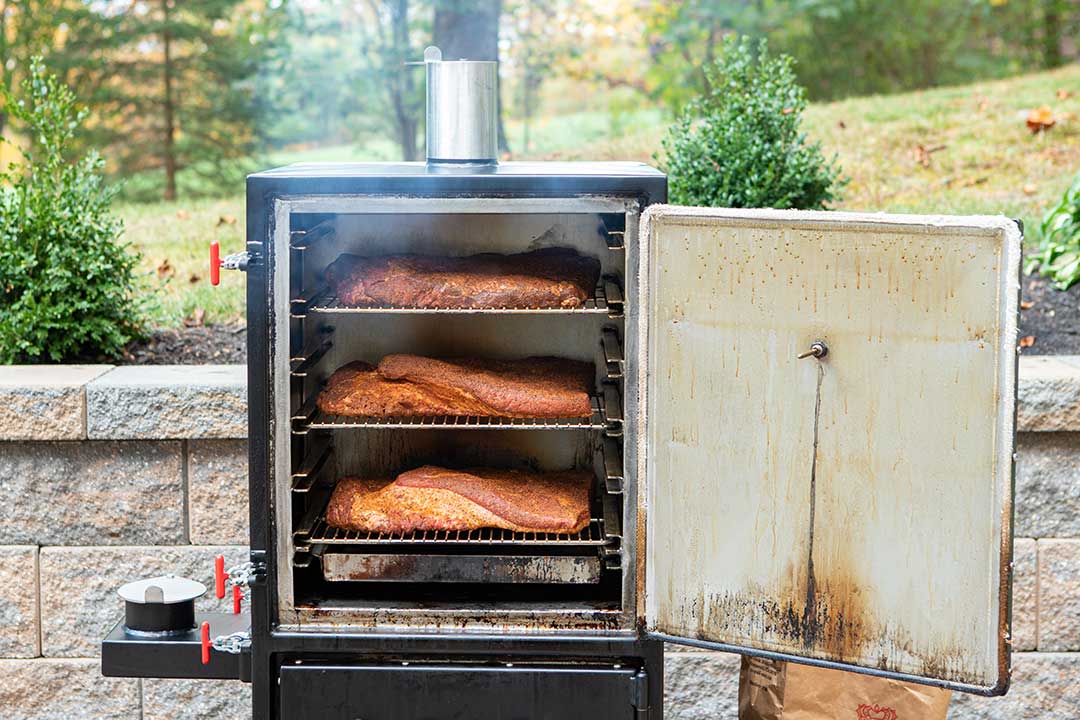
To get the smoker going, open the side vents all the way. The stack vent should always be open. Once the charcoal is lit and the smoker hits about 200 degrees, close the firebox door.
Dial the vents down once it gets up to about 215 degrees. It's tricky to tell you how far to open the vents because it depends on how you light it, but as a rule start by opening each side vent two revolutions from the closed position. If the heat keeps rising above 225 degrees, turn the vents down another one-half revolution and give it 5-10 minutes to respond.
(It probably goes without saying, but the principle is, if you spin the vents open, the temperature rises; if you close the vents down, the temperature dips.)
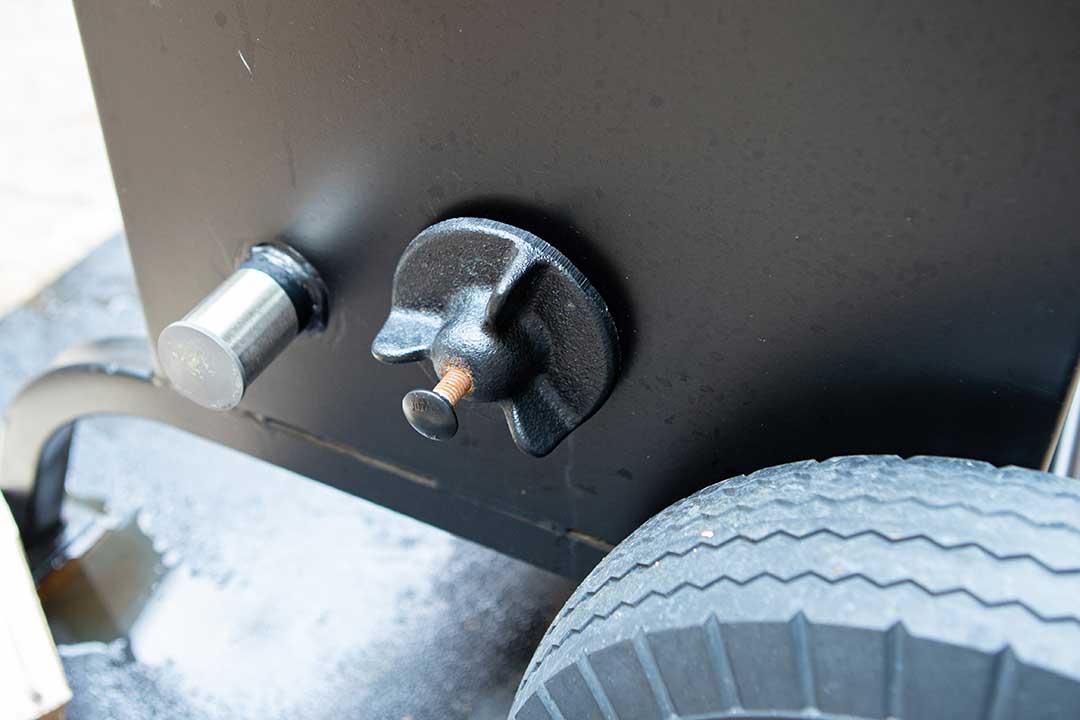
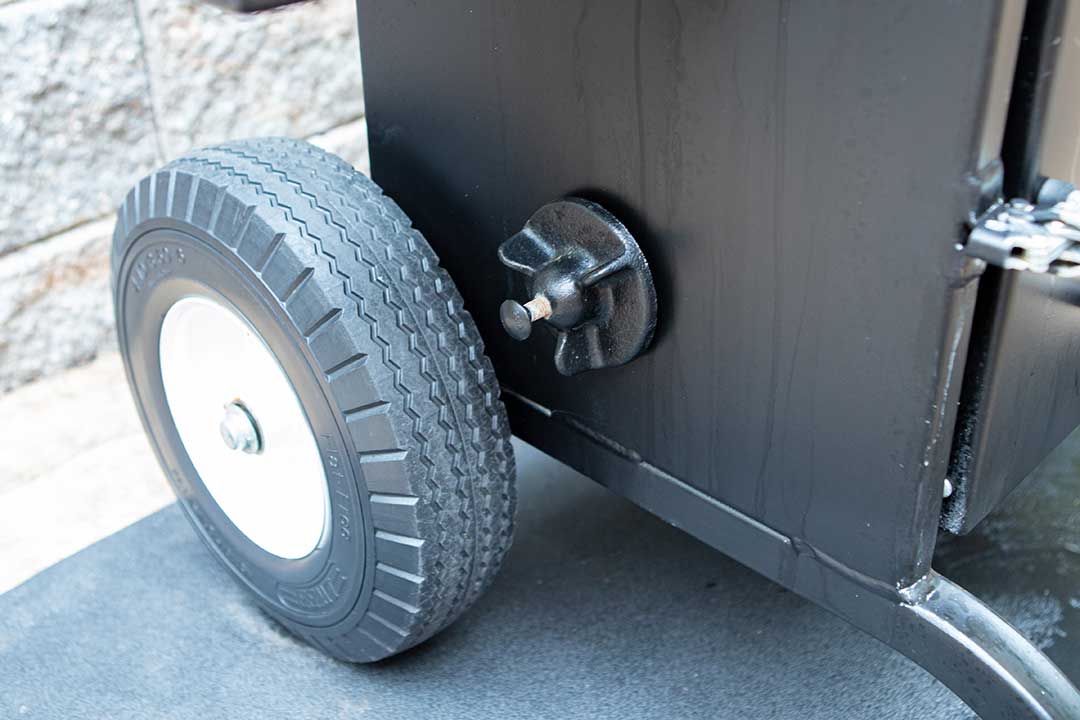
If the smoker doesn't respond, you might need to open the firebox door a crack to get it up to the range you want. Be careful not to overheat it because at some point, it's hard to reverse that without shoveling coals out of the firebox. If you do get it too hot, be careful about closing the vents all the way because you need at least a little draft in the smoker to avoid getting creosote on your meat.

For the first part of the cook, maintain the smoker at 225-250 degrees F and let it cook. You can spray the meat with apple juice or apple cider every 45 minutes to help build a bark.
The BX25 holds three whole briskets if they are on the small side. I got the smallest ones I could at Sam's Club and then trimmed down the length a little so they wouldn't block the airflow in the smoker. There should be at least an inch between the end of the brisket and the inner edge of the track which holds the grate.
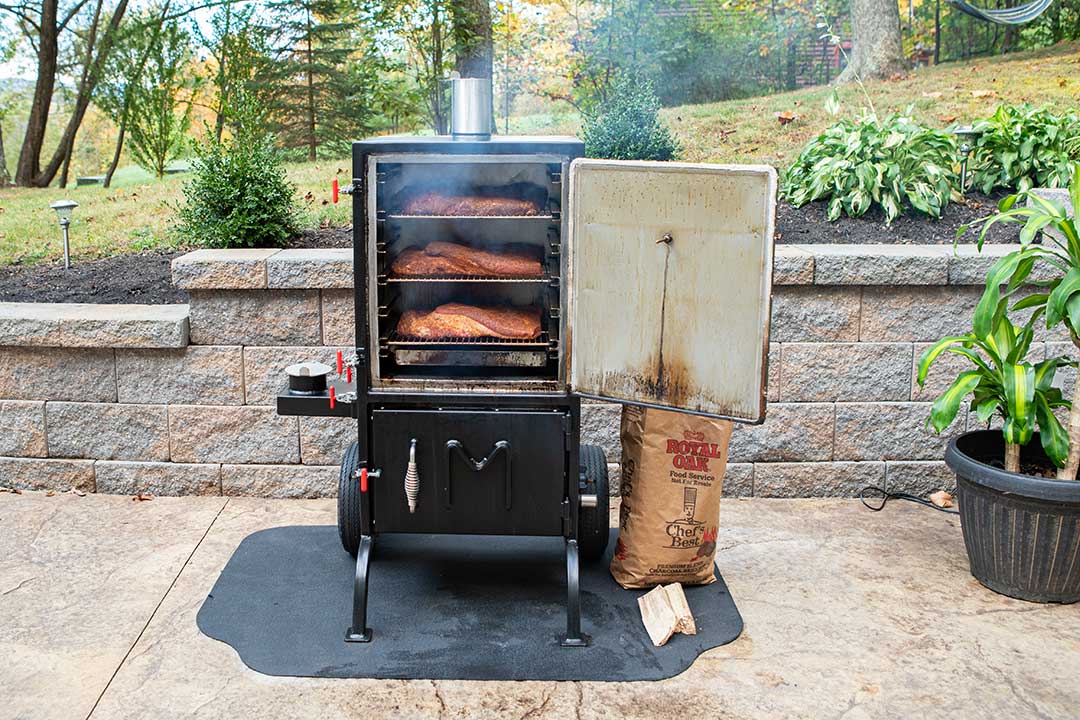
If you are using the bottom grate, it might be a good idea to check on it a couple of times in the first 60 minutes to make sure it's doing fine, and if you think it's a problem, rotate it with the middle one.
If the meat is blocking too much of the heat and your fire is too hot, it can quickly char the bottom of the brisket and ruin your cook. If this happens, the temperature below the bottom brisket is a lot hotter than what shows on the built-in thermometer too, which is why I recommend keeping an eye on it until you get the hang of it.
Pay attention to these details, and you'll be able to turn out a fantastic brisket.
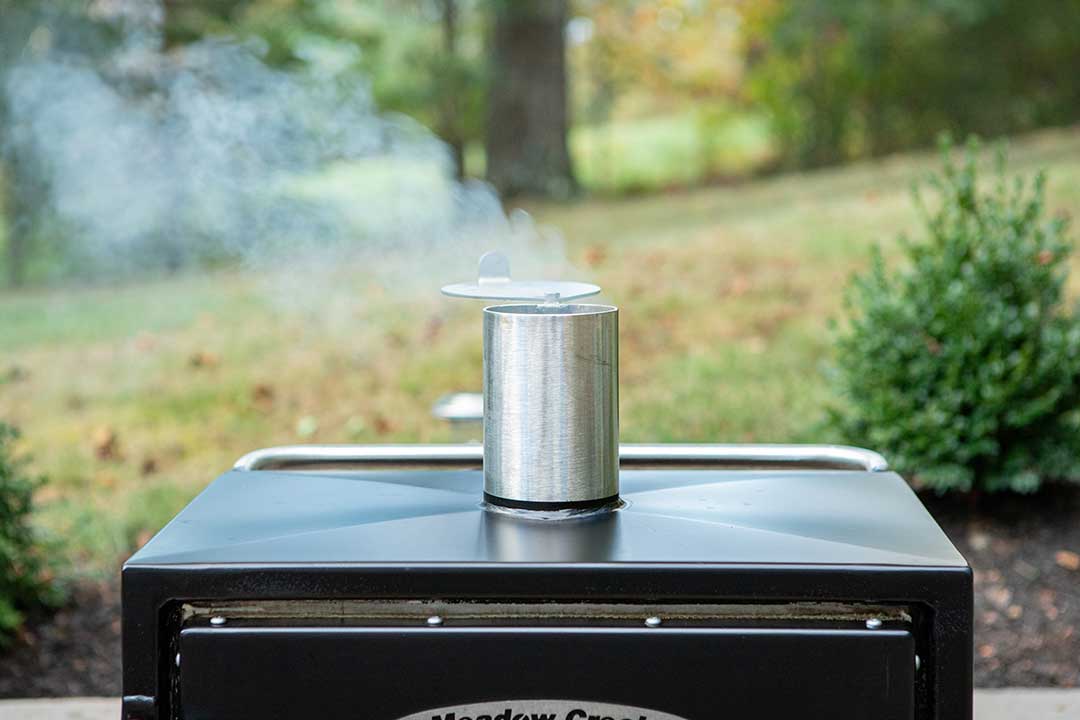
I like to wrap my briskets for the second phase of the cook because it speeds up the process. The brisket will be ready to wrap once a beautiful bark has formed (can take around 7-8 hours).
You can use heavy duty aluminum foil or butcher paper, but I recommend foil if you're just starting out. You've probably seen a lot of people using butcher paper online, but there's really not much difference between using foil and paper, so no need to feel inferior for using foil. 🙂
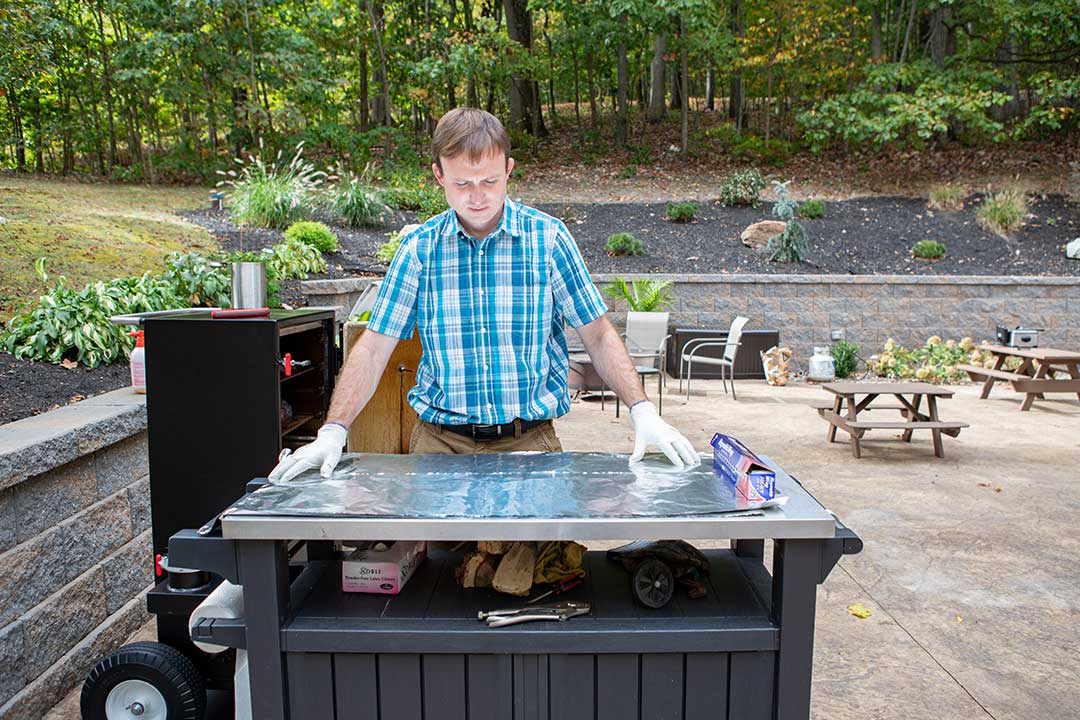
Wrap the brisket with two layers of heavy duty foil.
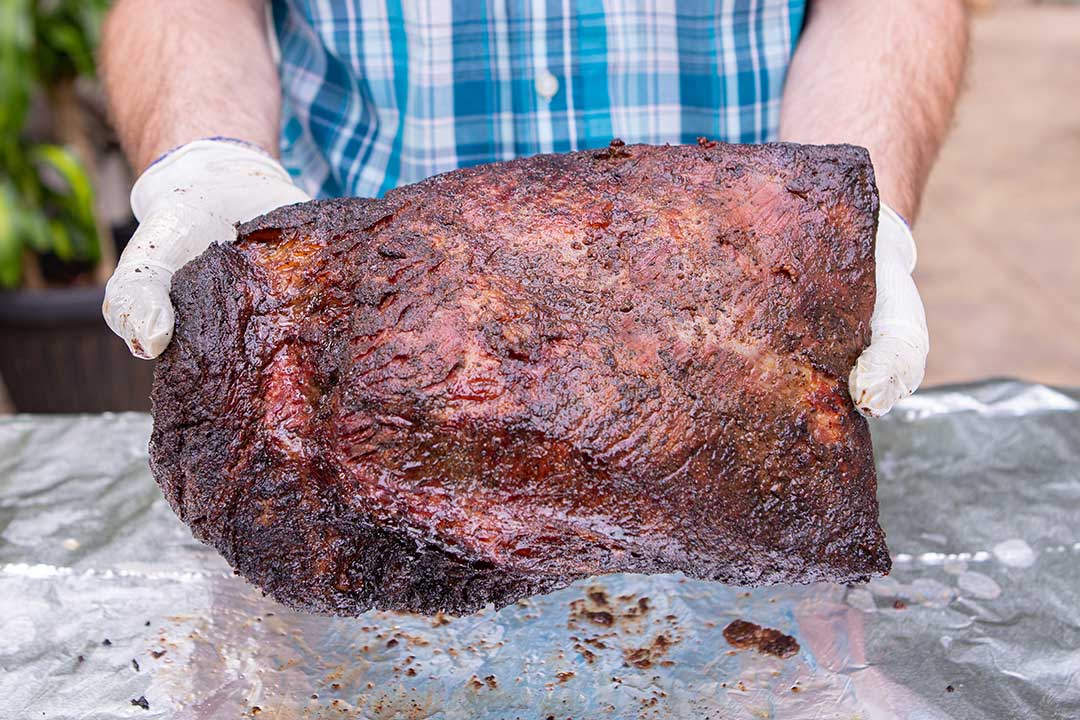
Beautiful and tender bark
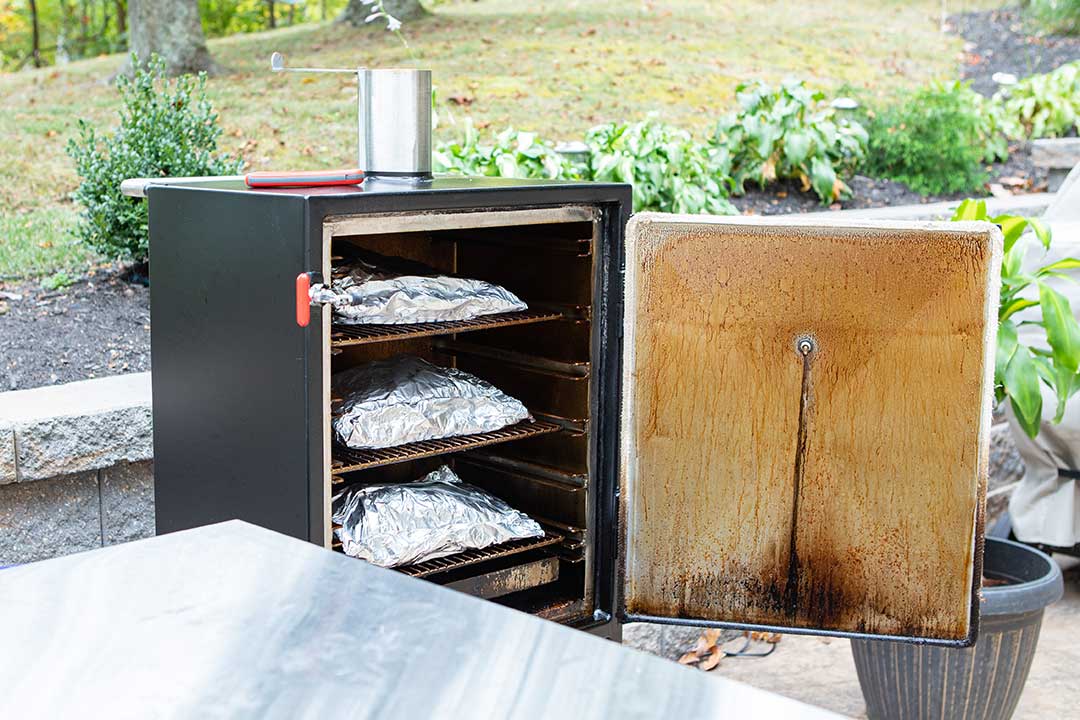
Crimp the foil with your hands on the sides and set the briskets back in the smoker.
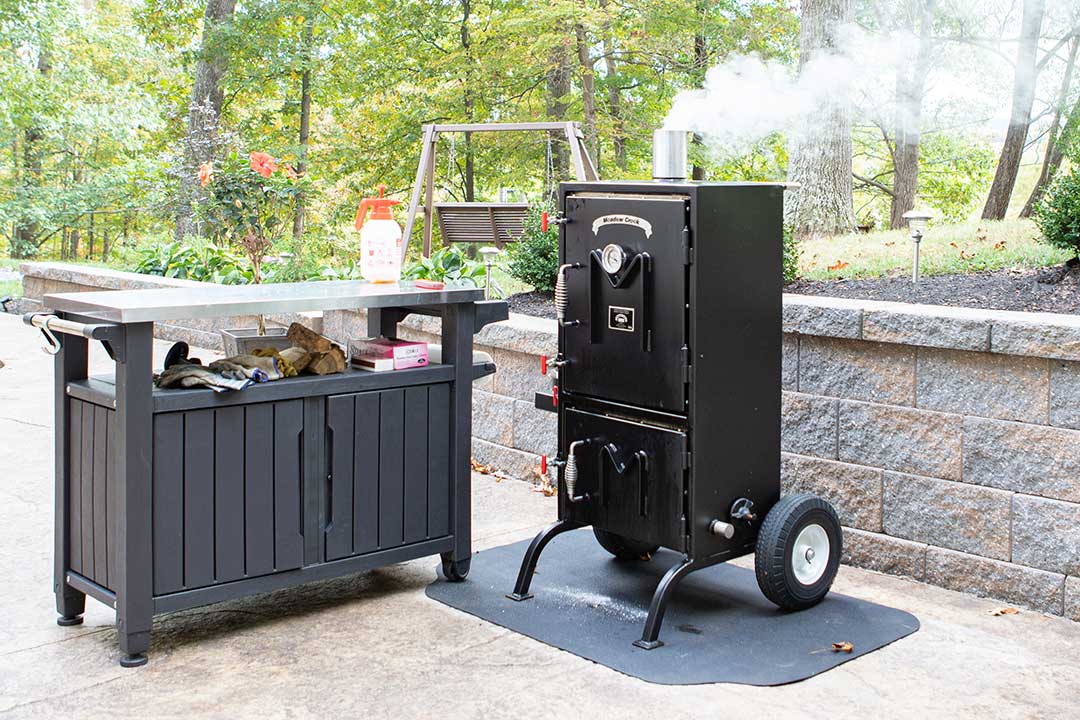
At this point we don't need smoke, but since it's a charcoal smoker, we can't turn off the smoke. I added a second load of charcoal at the same time I wrapped the briskets, so the fresh charcoal was really smoking in this photo.

The brisket is done once it's probe tender, which is usually around 200 degrees internal temperature. Probe tender means you can insert a thermometer probe and it slides in with little or no resistance.
There are two lessons here: 1) Be patient and let it cook until it's tender. 2) Be careful not to overcook the flat or it will be dry, especially if you are cooking a choice grade brisket.
I can't stress this enough.
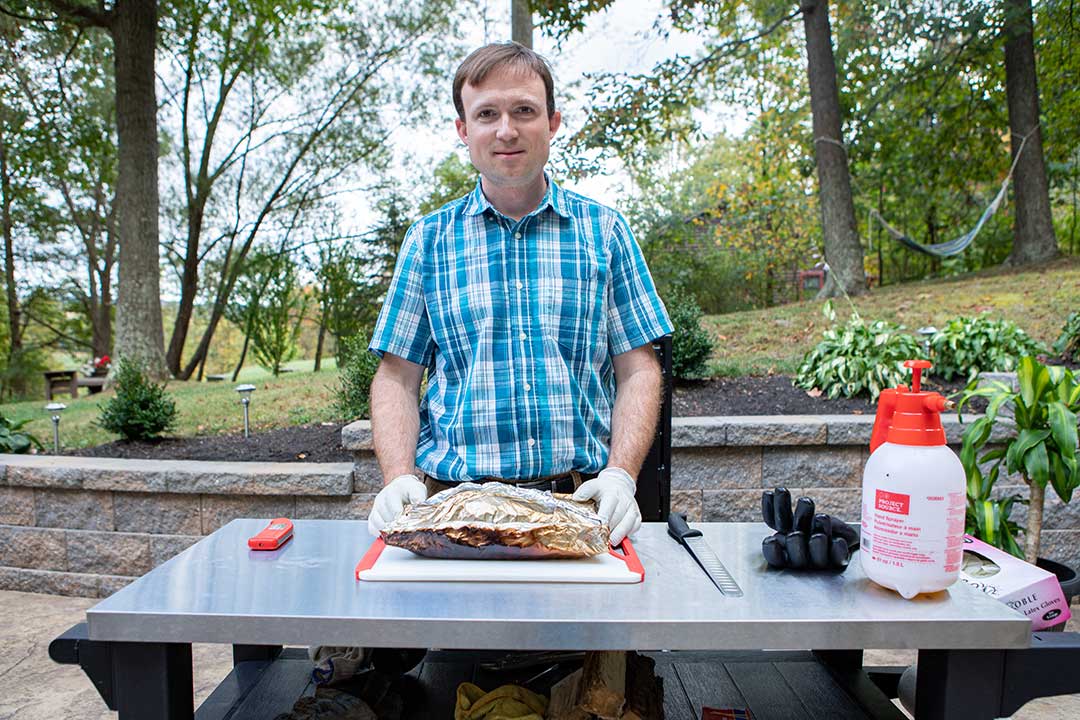
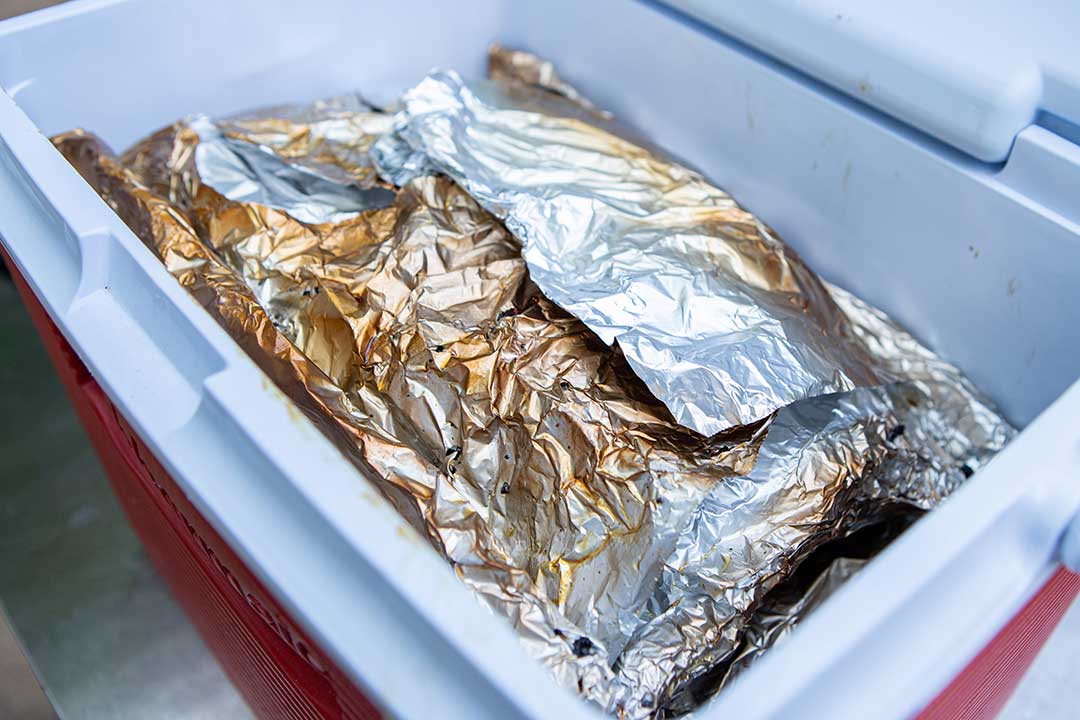
The thing of resting a brisket is a "sacred cow" in the barbecue world, but in my opinion "resting" is only necessary if you want to keep it warm until serving time. If you cooked the brisket until it was done, there is no harm in slicing into it right away.
I haven't tested this enough to make a scientific statement about it, but the key in perfect brisket is to cook it until it's done without overcooking it.
Pro tip: If you want to "rest" it in an empty cooler for a while, open the foil pouch and let the internal temperature drop to 170 degrees before holding it to keep it from overcooking.
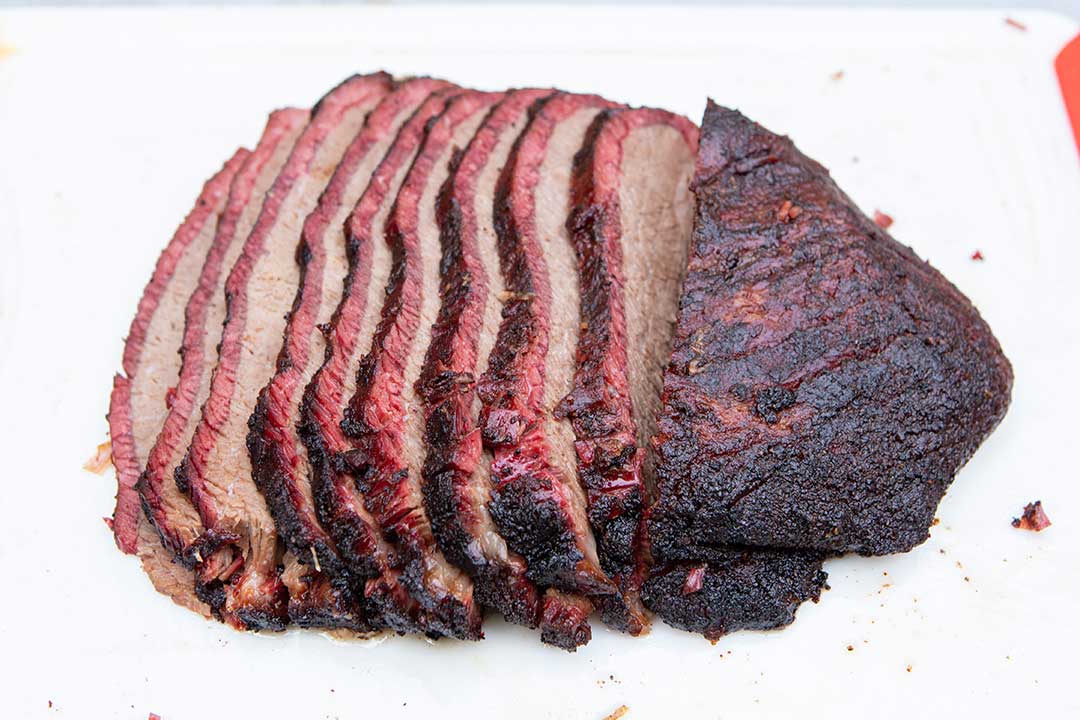
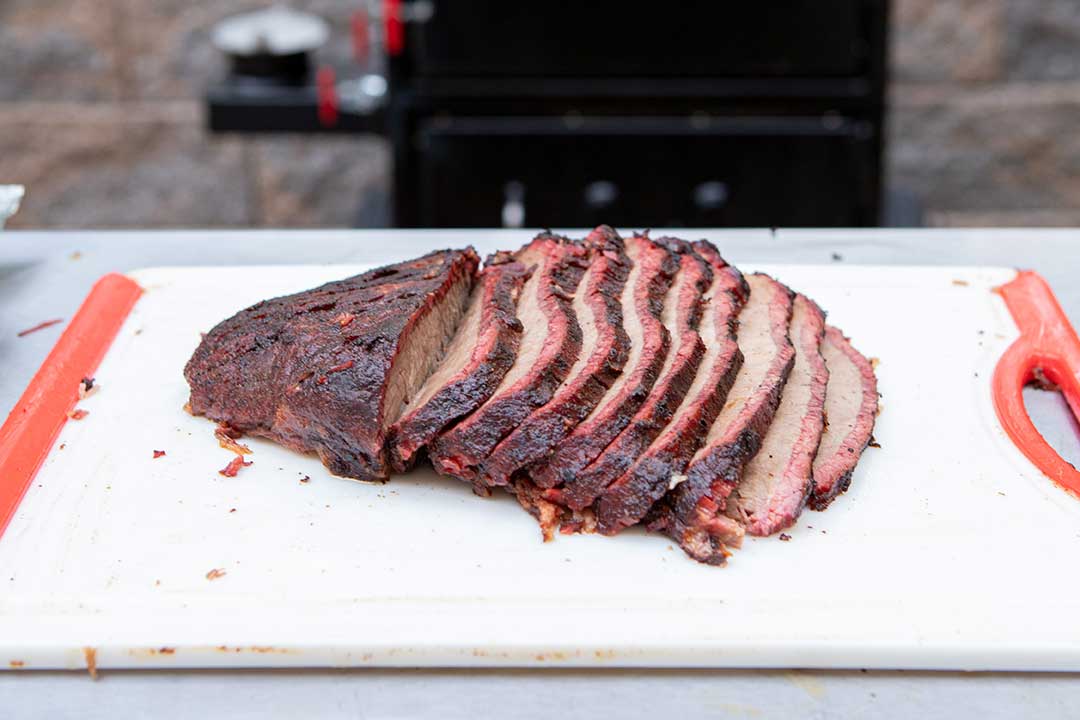
Slices of the flat
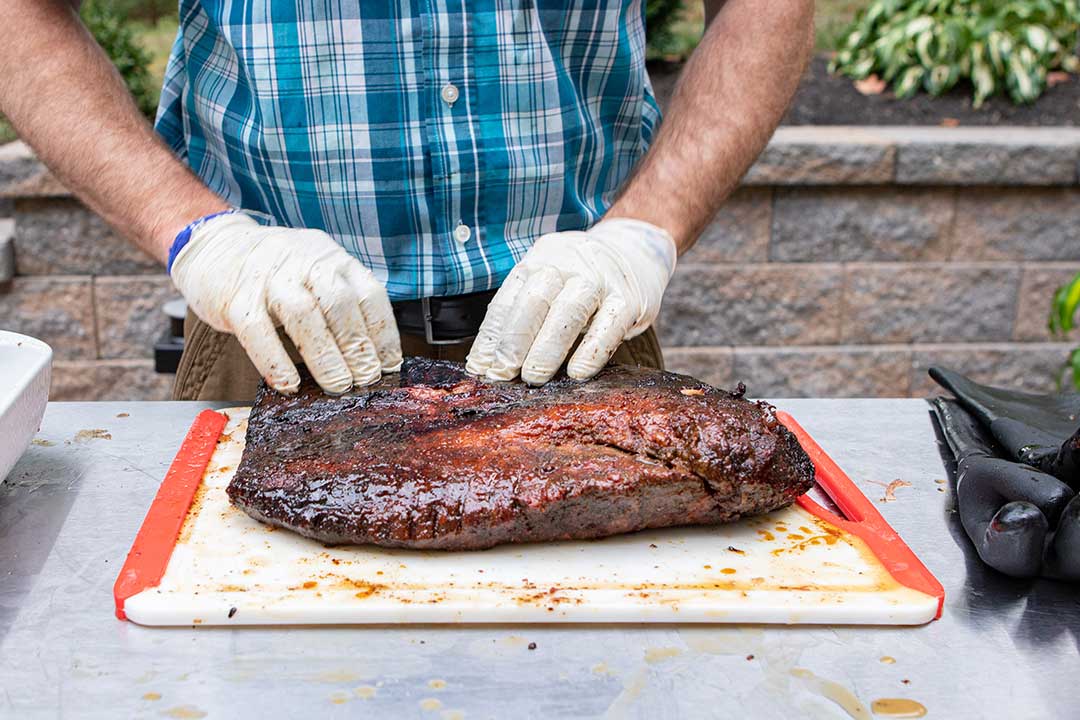
In the photo below, I am holding the point. I separated it from the flat (above) for slicing. The flat is a lot leaner and there is usually a bunch of fat between the flat and the point, so I prefer slicing it separate.
The point and flat muscles overlap each other. The point is in the thicker end of the brisket and reaches about one-third of the way along the brisket. I'm sorry I don't have more photos of me separating the point and the flat, but if you search online for how to slice a brisket, you'll find videos showing how it's done.
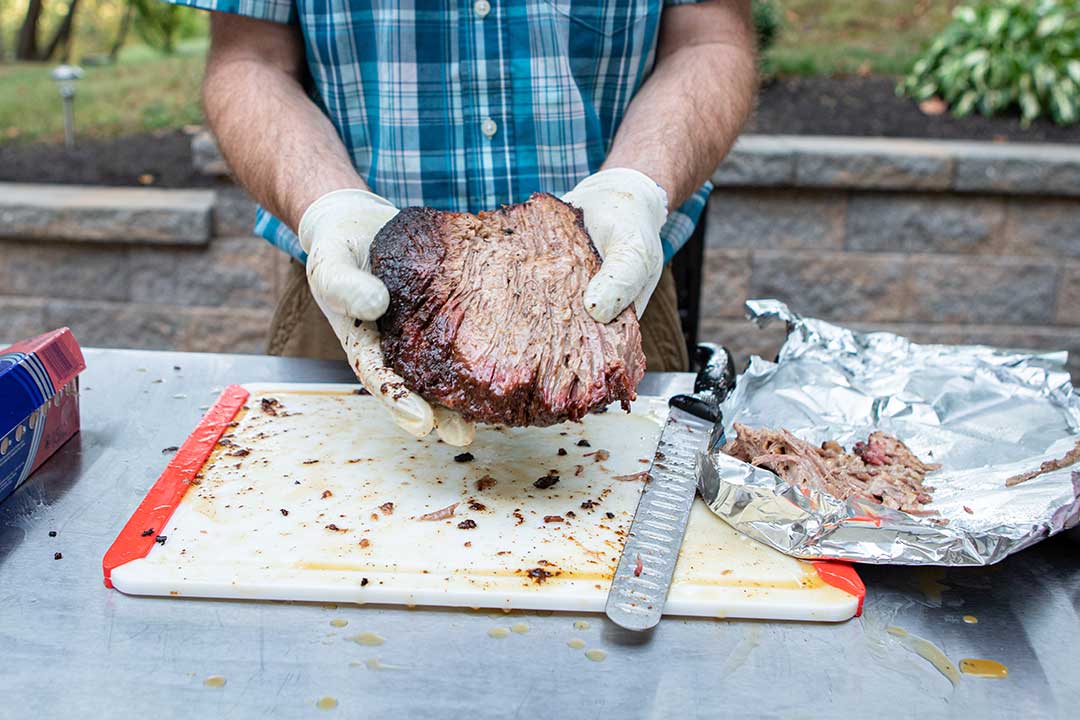
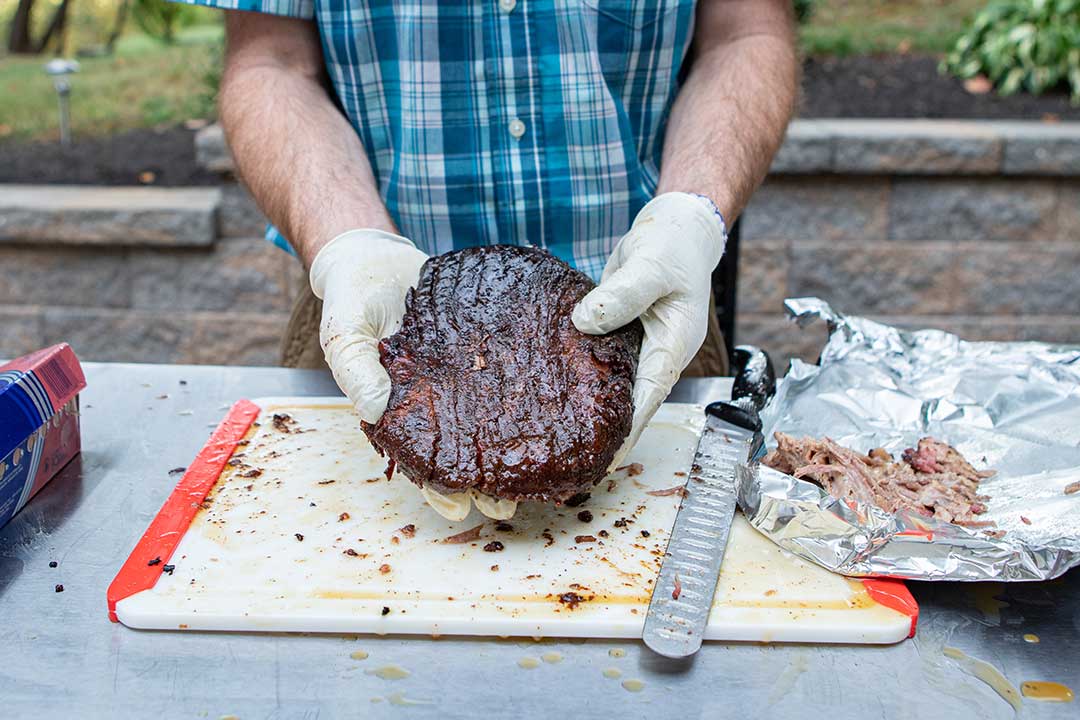
The point is AMAZINGLY tender.
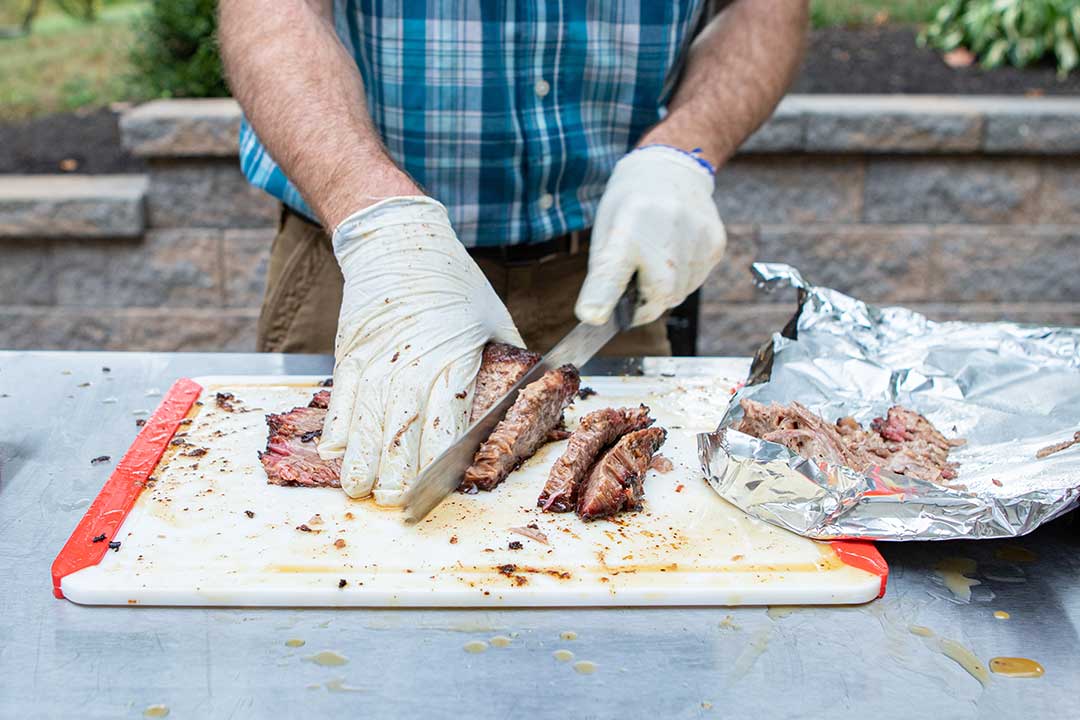
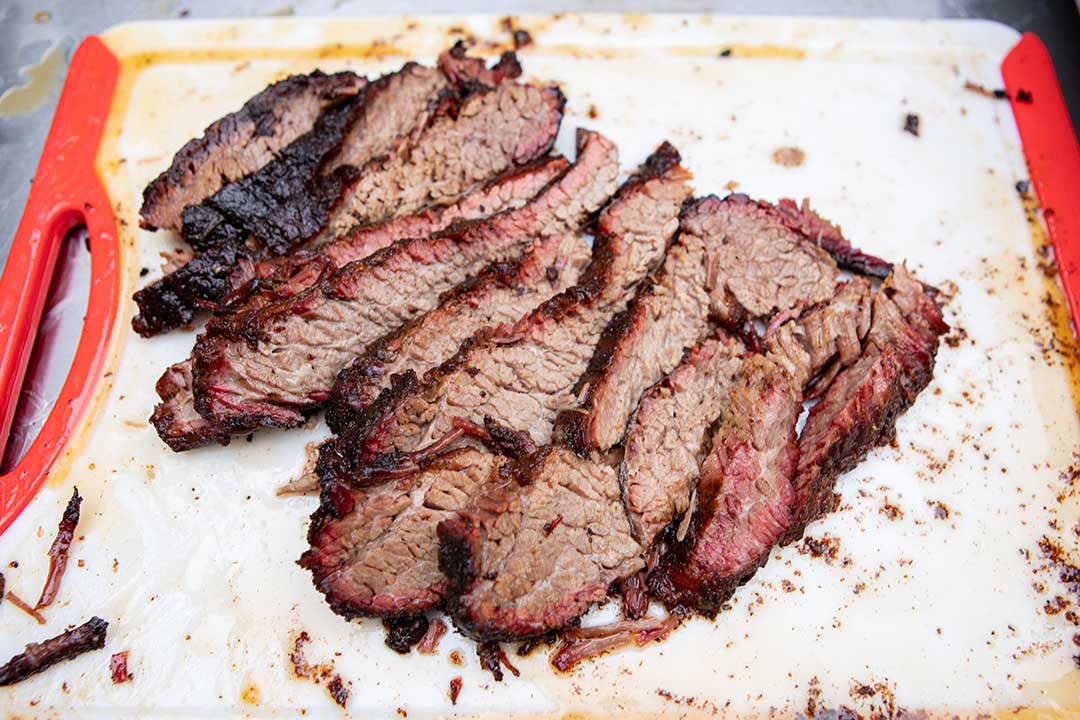
Sliced point
What if the point is not done when the flat is ready?
If this happens, you can separate the point and the flat, and put the point back in the smoker. A lot of people cube the point at this stage to make burnt ends. A simple method for this is to put the cubes in a foil pan with some sauce, cover the pan, and cook them until they are soft.
Yummy!
How much charcoal does it take?
I didn't reload the charcoal until about 8 hours in because I overlooked it and then had to relight the charcoal when I added more.
The smoker is insulated and holds so much heat that it's pretty easy to go too long without refilling it. I should have added more fuel at the 5 or 6 hour mark and then it might have been enough to finish off the cook and I wouldn't have had to relight it.
As a rule you can expect one basket of charcoal to last roughly 5 hours so if your brisket takes 14 hours, for example, you'd need to fill it twice. The larger BX50 can go for 8-10 hours on one load of fuel cooking at 225 degrees.

Is your patio begging for an Amish-made cabinet smoker? Check out the BX25 or it's bigger brother, the BX50 for a compact and efficient charcoal smoker!
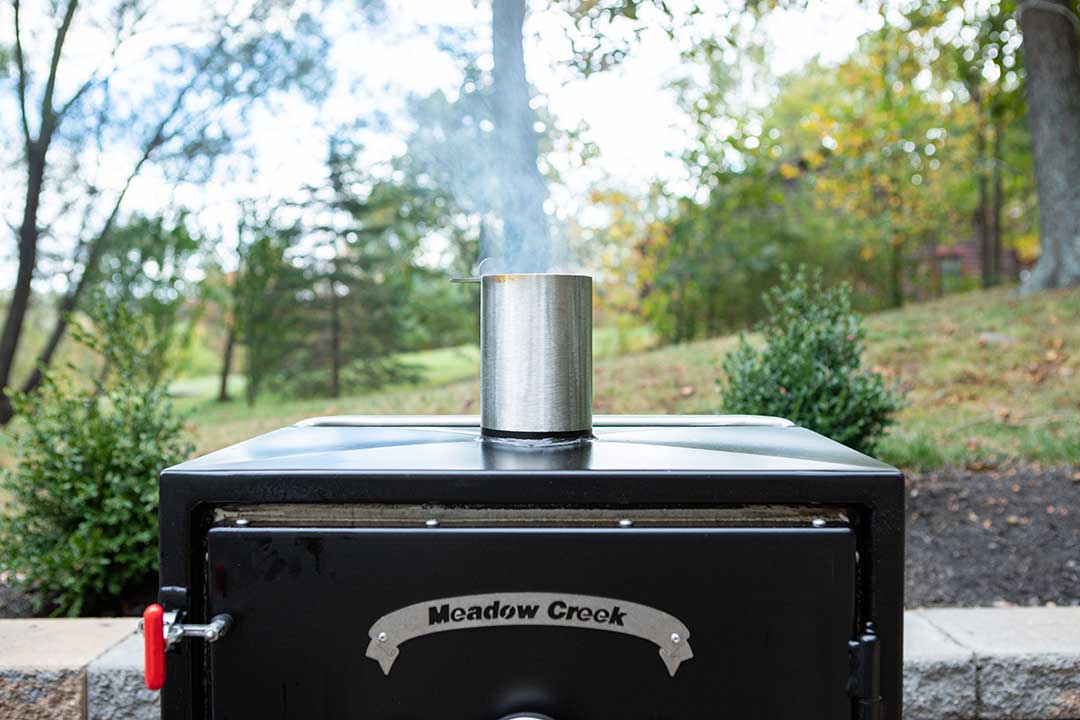
Click here to browse more photos, features, and specs on our cabinet smokers. Choose a model and then click on "customize" to see available upgrades and suggested retail prices:
Tags
box smokers, bx25 smoker, Cabinet Smoker, how to smoke a brisket, smoked brisket